Converting to a Redemption
Once you’ve decided which option to book, you can convert it directly into a tracked redemption. This pre-fills the redemption form with the program, points, fare info, and flight details from your comparison — no re-entering data.
Disclaimer: The screenshots and data shown in this guide are generated from a test environment for instructional purposes only. Program names, point values, and valuations are simulated and may not reflect current real-world rates or availability.
Step 1: Find the Track Button
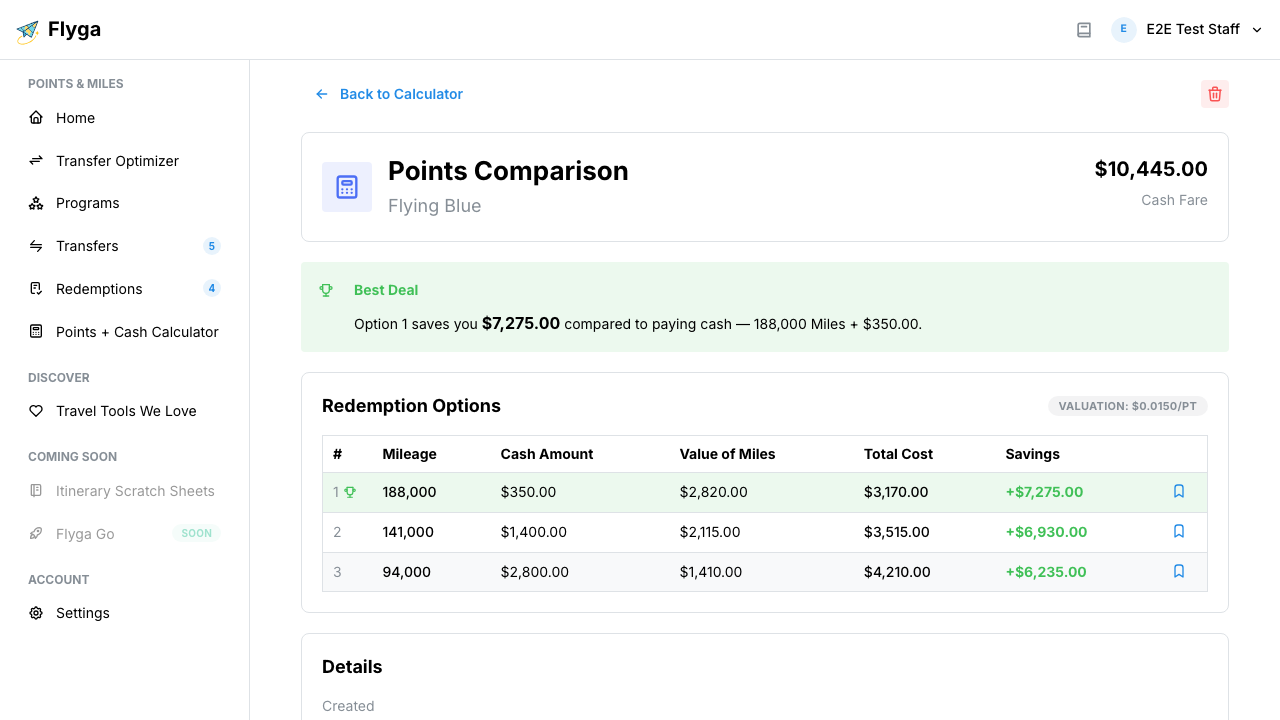
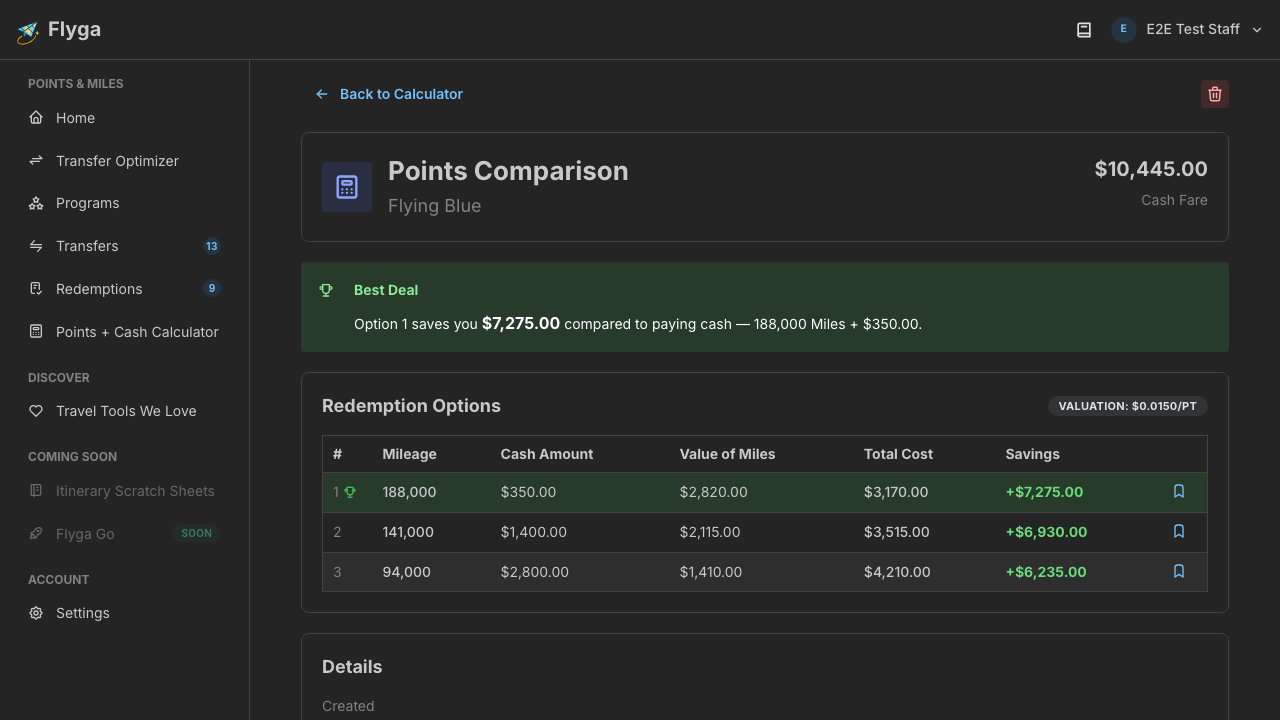
Section titled “Step 1: Find the Track Button”On the comparison detail page, each option row has a bookmark icon on the right side. This is the Track this redemption button.
Step 2: Click to Pre-fill
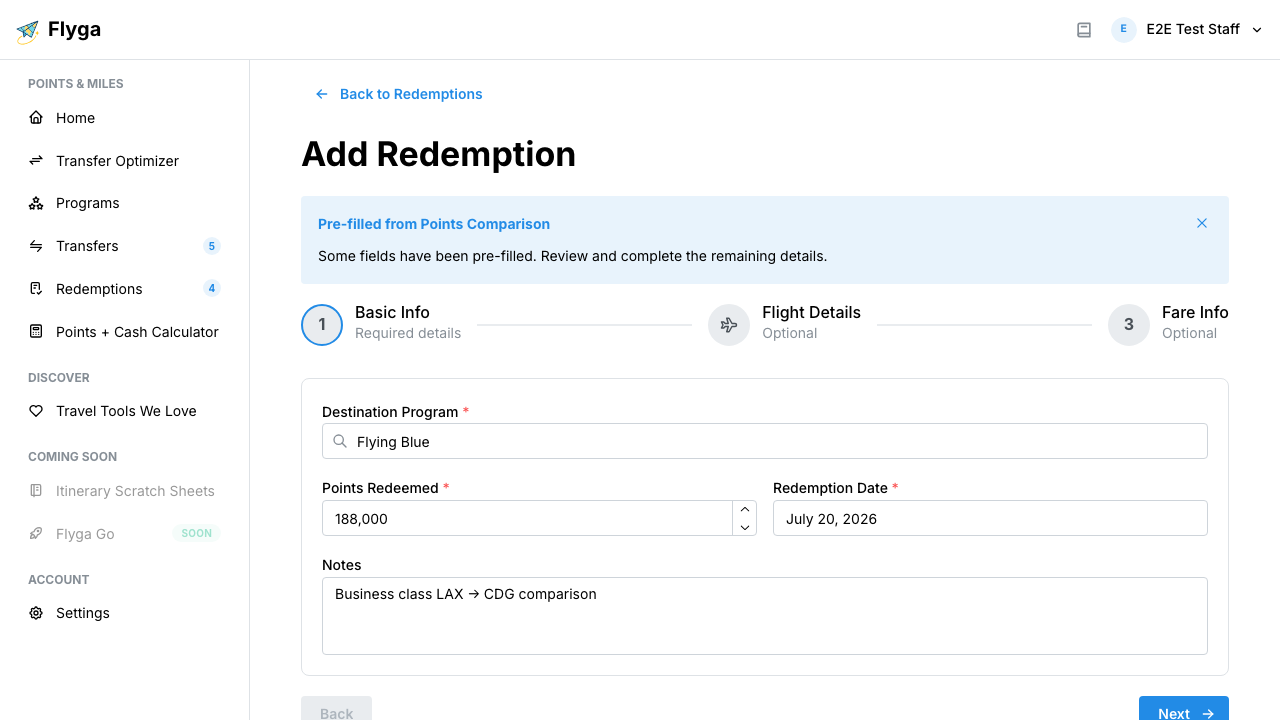
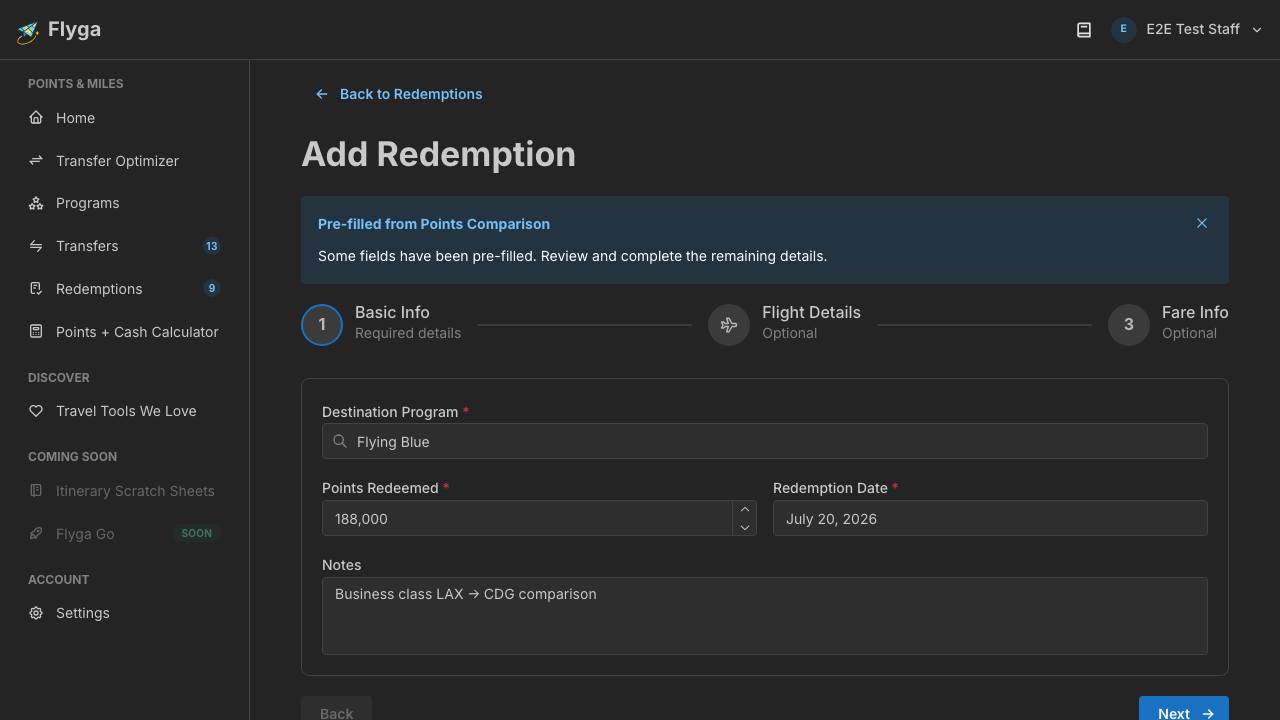
Section titled “Step 2: Click to Pre-fill”Click the bookmark icon on the option you booked. You’ll be taken to the Add Redemption page with a blue banner confirming the form has been pre-filled.
The following fields are populated automatically:
- Destination Program — The program from your comparison.
- Points Redeemed — The mileage from the option you selected.
- Cash Price — The cash fare from your comparison (if entered).
- Taxes & Fees — The cash amount from the option.
- Flight Itinerary — Full itinerary details (if you added them to the comparison).
- Notes — Any notes from your comparison.
Step 3: Complete and Save
Section titled “Step 3: Complete and Save”Review the pre-filled data, set the Redemption Date (defaults to today), and add any additional details like a confirmation number. Then proceed through the wizard and click Create Redemption.
Your redemption is now tracked with full context from your original comparison, giving you a complete picture from research to booking.